How to create a group in GitLab
Your projects in GitLab can be organized in 2 different ways:
under your own namespace for single projects, such as your-name/project-1 or
under groups.
If you organize your projects under a group, it works like a folder. You can manage your group members' permissions and access to the projects.
To create a group:
-
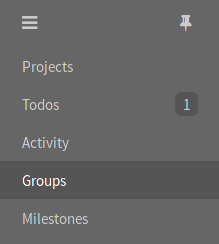
Expand the left sidebar by clicking the three bars at the upper left corner and then navigate to Groups.
-
Once in your groups dashboard, click on New group.
-
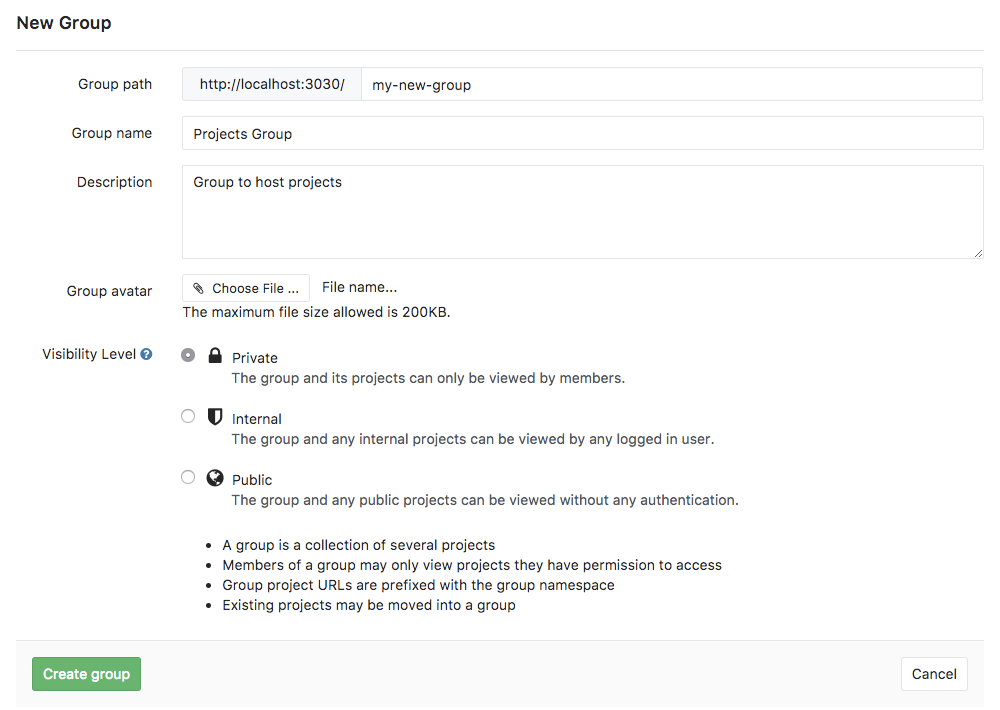
Fill out the needed information:
- Set the "Group path" which will be the namespace under which your projects will be hosted (path can contain only letters, digits, underscores, dashes and dots; it cannot start with dashes or end in dot).
- The "Group name" will populate with the path. Optionally, you can change it. This is the name that will display in the group views.
- Optionally, you can add a description so that others can briefly understand what this group is about.
- Optionally, choose and avatar for your project.
- Choose the visibility level.
Finally, click the Create group button.
Add a new project to a group
There are 2 different ways to add a new project to a group:
-
Select a group and then click on the New project button.
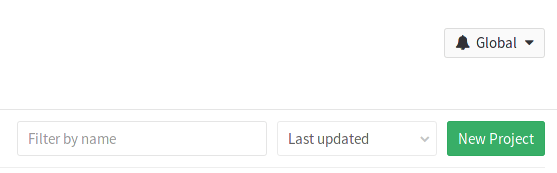
You can then continue on creating a project.
-
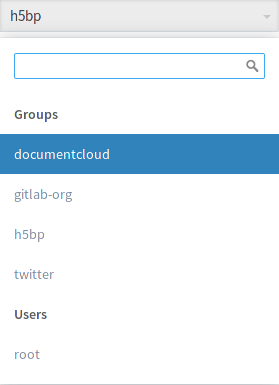
While you are creating a project, select a group namespace you've already created from the dropdown menu.